Today is March 28, 2019. A lot has happened since I last posted, the world is spinning at an ever increasing rate it feels like. We are nearing the end of the first week of stay-home-so-you-don’t-infect-people here in Massachusettes. The news gets worse by the day. In the back of my mind, there is a corner that is in constant terror for my little sister who is a nurse in a medical icu unit that has just been turned into a covid unit. I have finally this afternoon put a name to the other feeling I have which is dread.
In an effort to not get sucked down that dark dank hole, I am keeping busy this afternoon scanning a clients slides. Having a yummy lunch of homemade knockoff Panera Autumn Squash soup. My daughter just brought me some yummy fruit smoothie she made and hubby is busy alternating working and doing laundry.
While the scanner is scanning (each batch of 30 takes over an hour), I decided to take a break from making masks to finish up a scrapbook layout that has been hanging around since probably 2014…
I had started a layout with this photo back then, didn’t like it, and there it sat in my unfinished layout folder …which we all know is the digital equivalent to that pile on the corner of the desk. I decided one of my projects for this year is to either finish/ re-work the layouts in that folder or delete them. This photo is from 2001 and seriously, don’t they look like they are conspiring against us?! Very happy to have made a start on a project that is useful and creative when we definitely need useful and creative things around us! The template is from this months Simple Scrapper templates and I think the kit is Just Jaimee’s Storyteller
One of the ways I engage with my hobby of memory keeping (and also prime the creative pump for my business and my other creative endeavors) is with a membership at Simple Scrapper which is a community of like minded memory keepers from all over the world (which is so totally cool) that offers classes, challenges, online crops, book clubs, a monthly magazine, templates and loads of fun and support. This past week has been their semi-annual “Stash Bash” week, a challenge for members to work on reducing or organizing their creative stash with an eye to making more projects and getting more stories told.
I’m currently working on my girls school albums with a completion date of June 7th (conveniently, their graduation date!) so I am making plenty of layouts and recording lots of memories right now. I do have one particular area of stash that needed a little love so I thought I’d share my Stash bash Project here with you (I’ve already shared it with the Simple Scrapper Community)
My lovingly acquired selection of Story Kits!
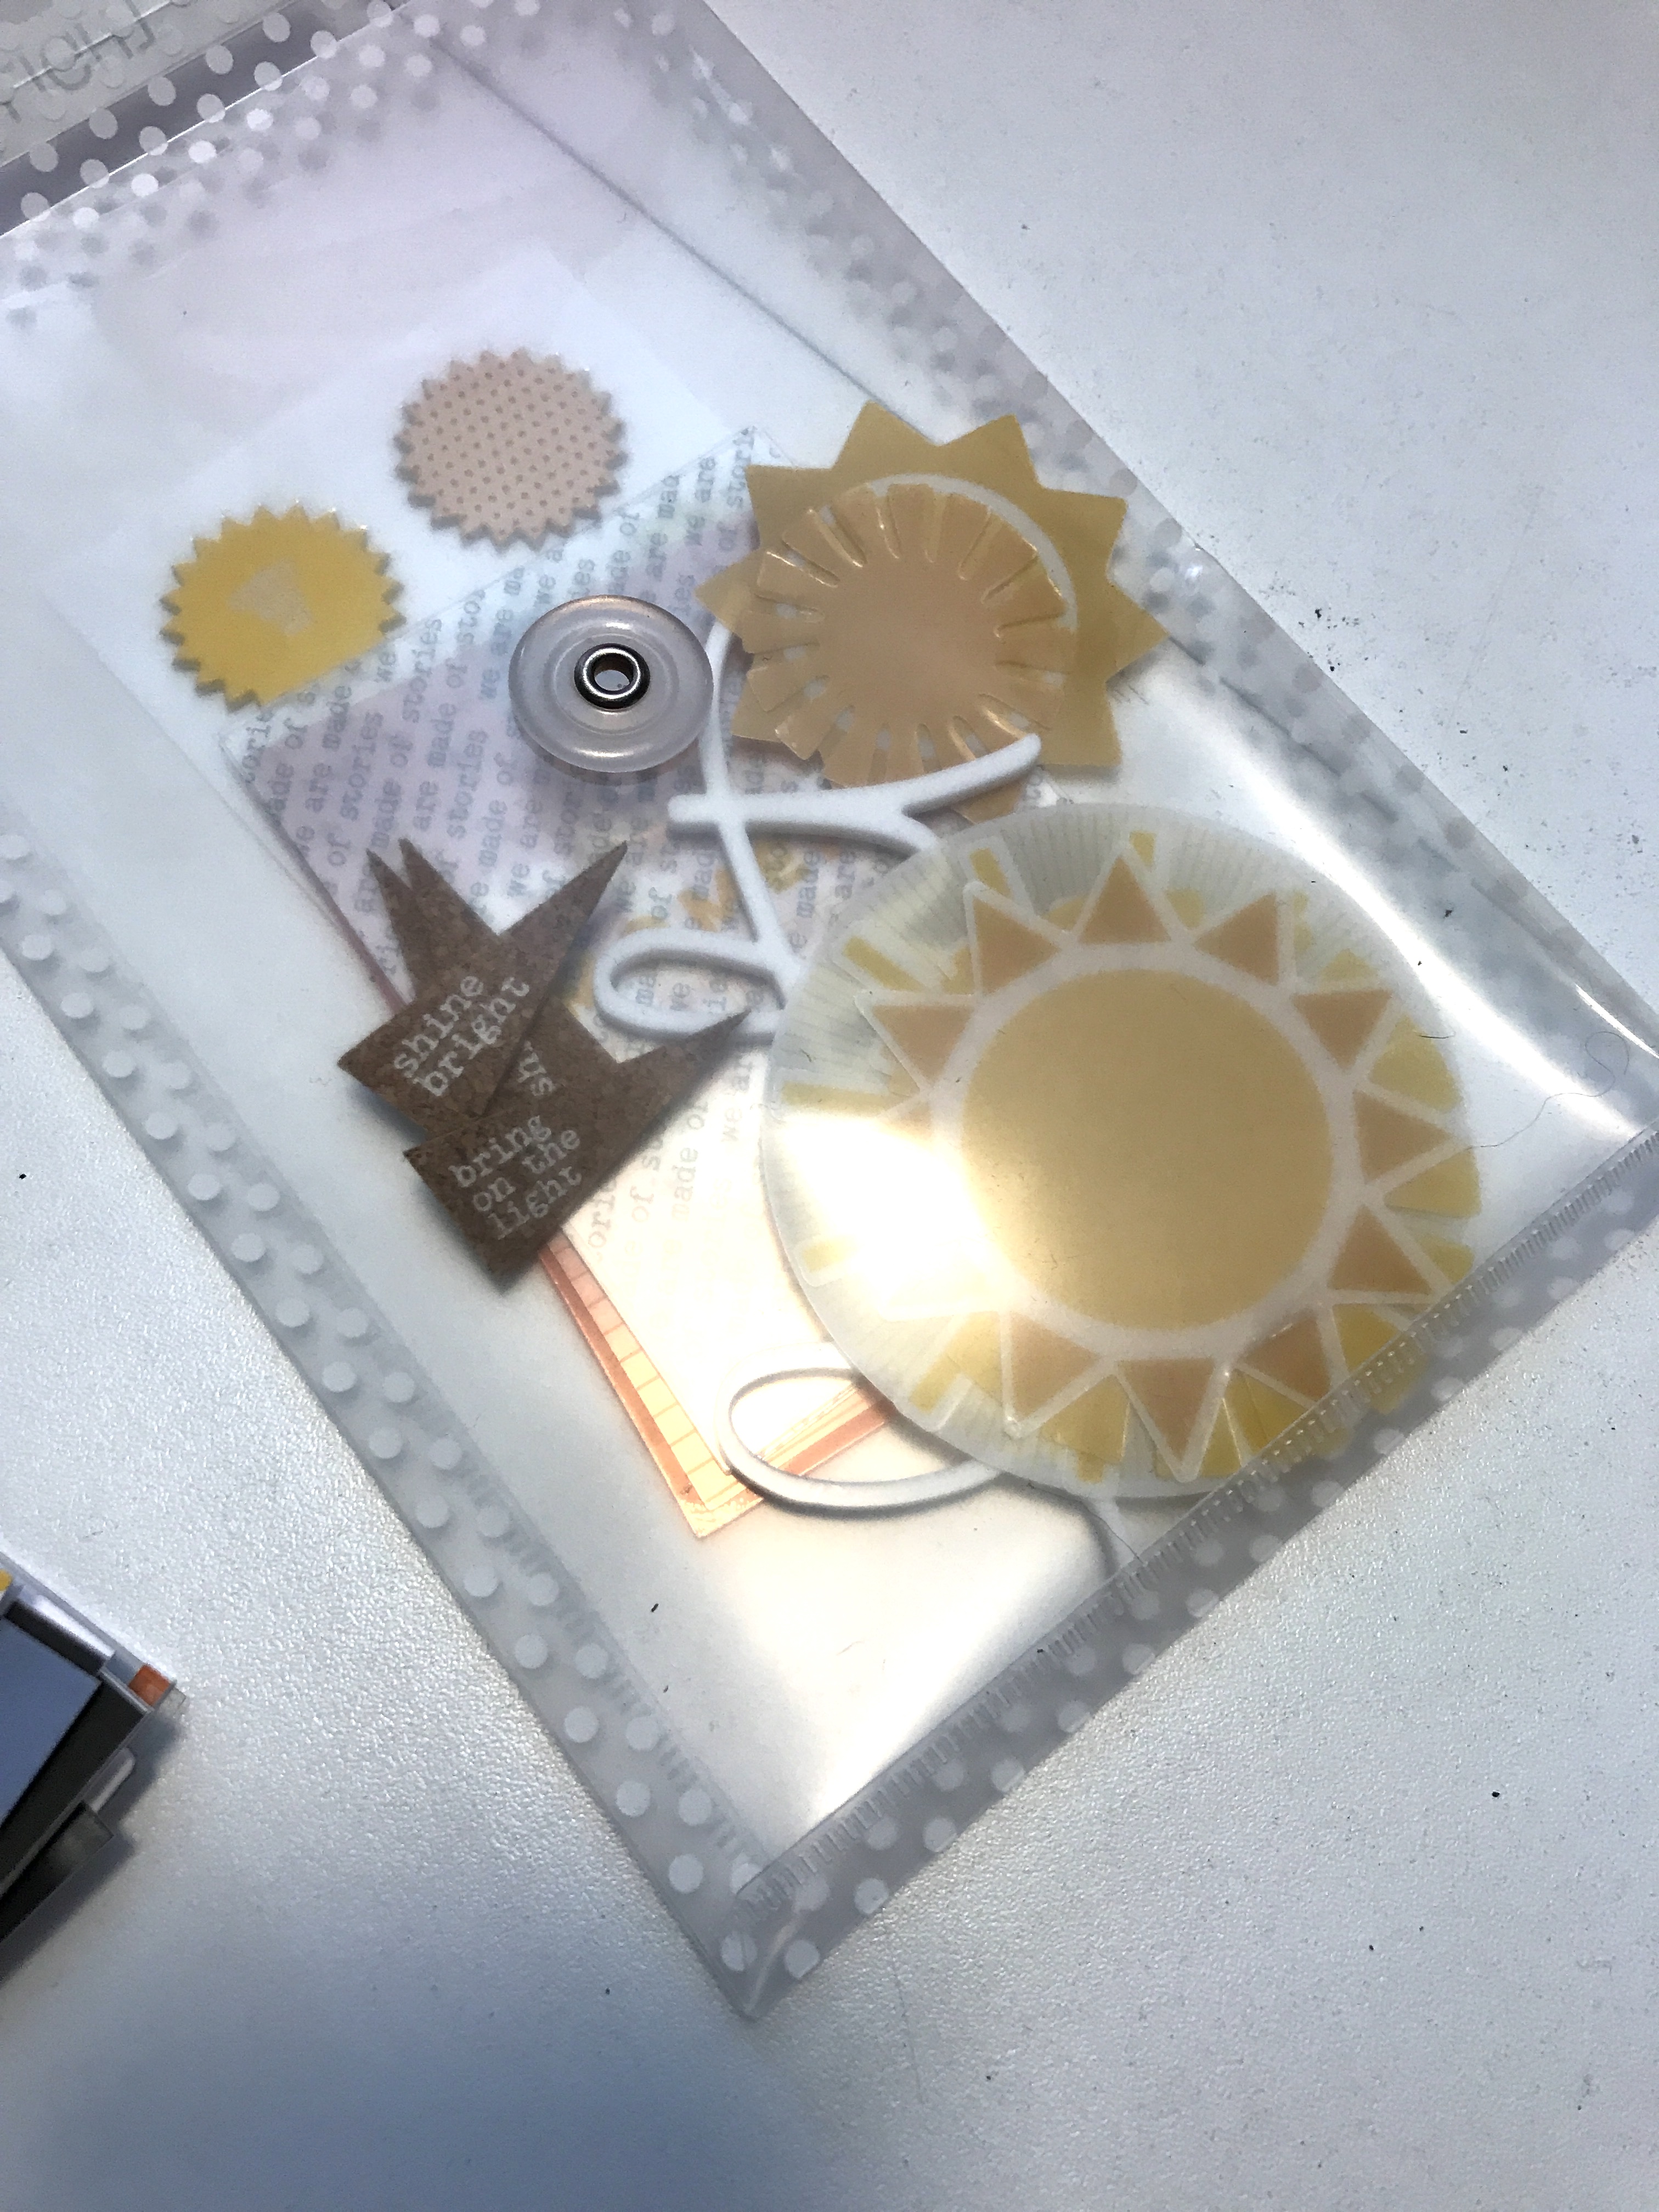
I am the proud owner of many many Story Kits and Story Stamps from Ali Edwards. I also amassed a years worth of Stories by the Month and, I’m embarrassed to say I have hardly used any of them. When I thought about why (other than the usual reasons) I realized that they are all still in the original envelopes, so I can’t see or flip thru anything. So how to get them out of envelopes and deal with different sorts of stuff: cards, stamp sheet, sheets of cardstock and stickers and then loads of types of embellishments. my first impetus was to go to Target and buy more plastic fridge bins to house the collection. I really am not thrilled with the purple bin from the girls old toy room where they now reside. Then I checked myself and thought a) too much plastic already and we are trying to make a conscious effort as a household to cut back and b) don’t feel like spending the $$. I looked around the house and thought shoeboxes! Totally can do that! Except didn’t have quite the right size/shape etc…. I realized I can just keep them in the purple bin and get over it because it fits perfectly in the bookcase. In taking apart a few kits and spreading them out… I hit up on the solution to the problem: 1-Take (almost) everything OUT OF THE PLASTIC stamp sets, chip board, everything except some tiny stars and other embellishments that must be contained. 2- All the loose embellishments go back in the big plastic envelope that the kit gets shipped in. 3-Envelope is labeled w kit name 4- Envelope goes in back and stamp, chipboard, stickers, paper-ish kinds of things and finally the journal cards all stacked on top, then stood up in the bin. It’s a little catty-wampus, it’s not perfect but quite frankly I was pretty giddy with how FUNCTIONAL it’s going to be for me!!
the new home for the smaller embellishments! Easy to see and access!Everything out of the plastic, ready to be stacked up and filed! Easy flip through access now!
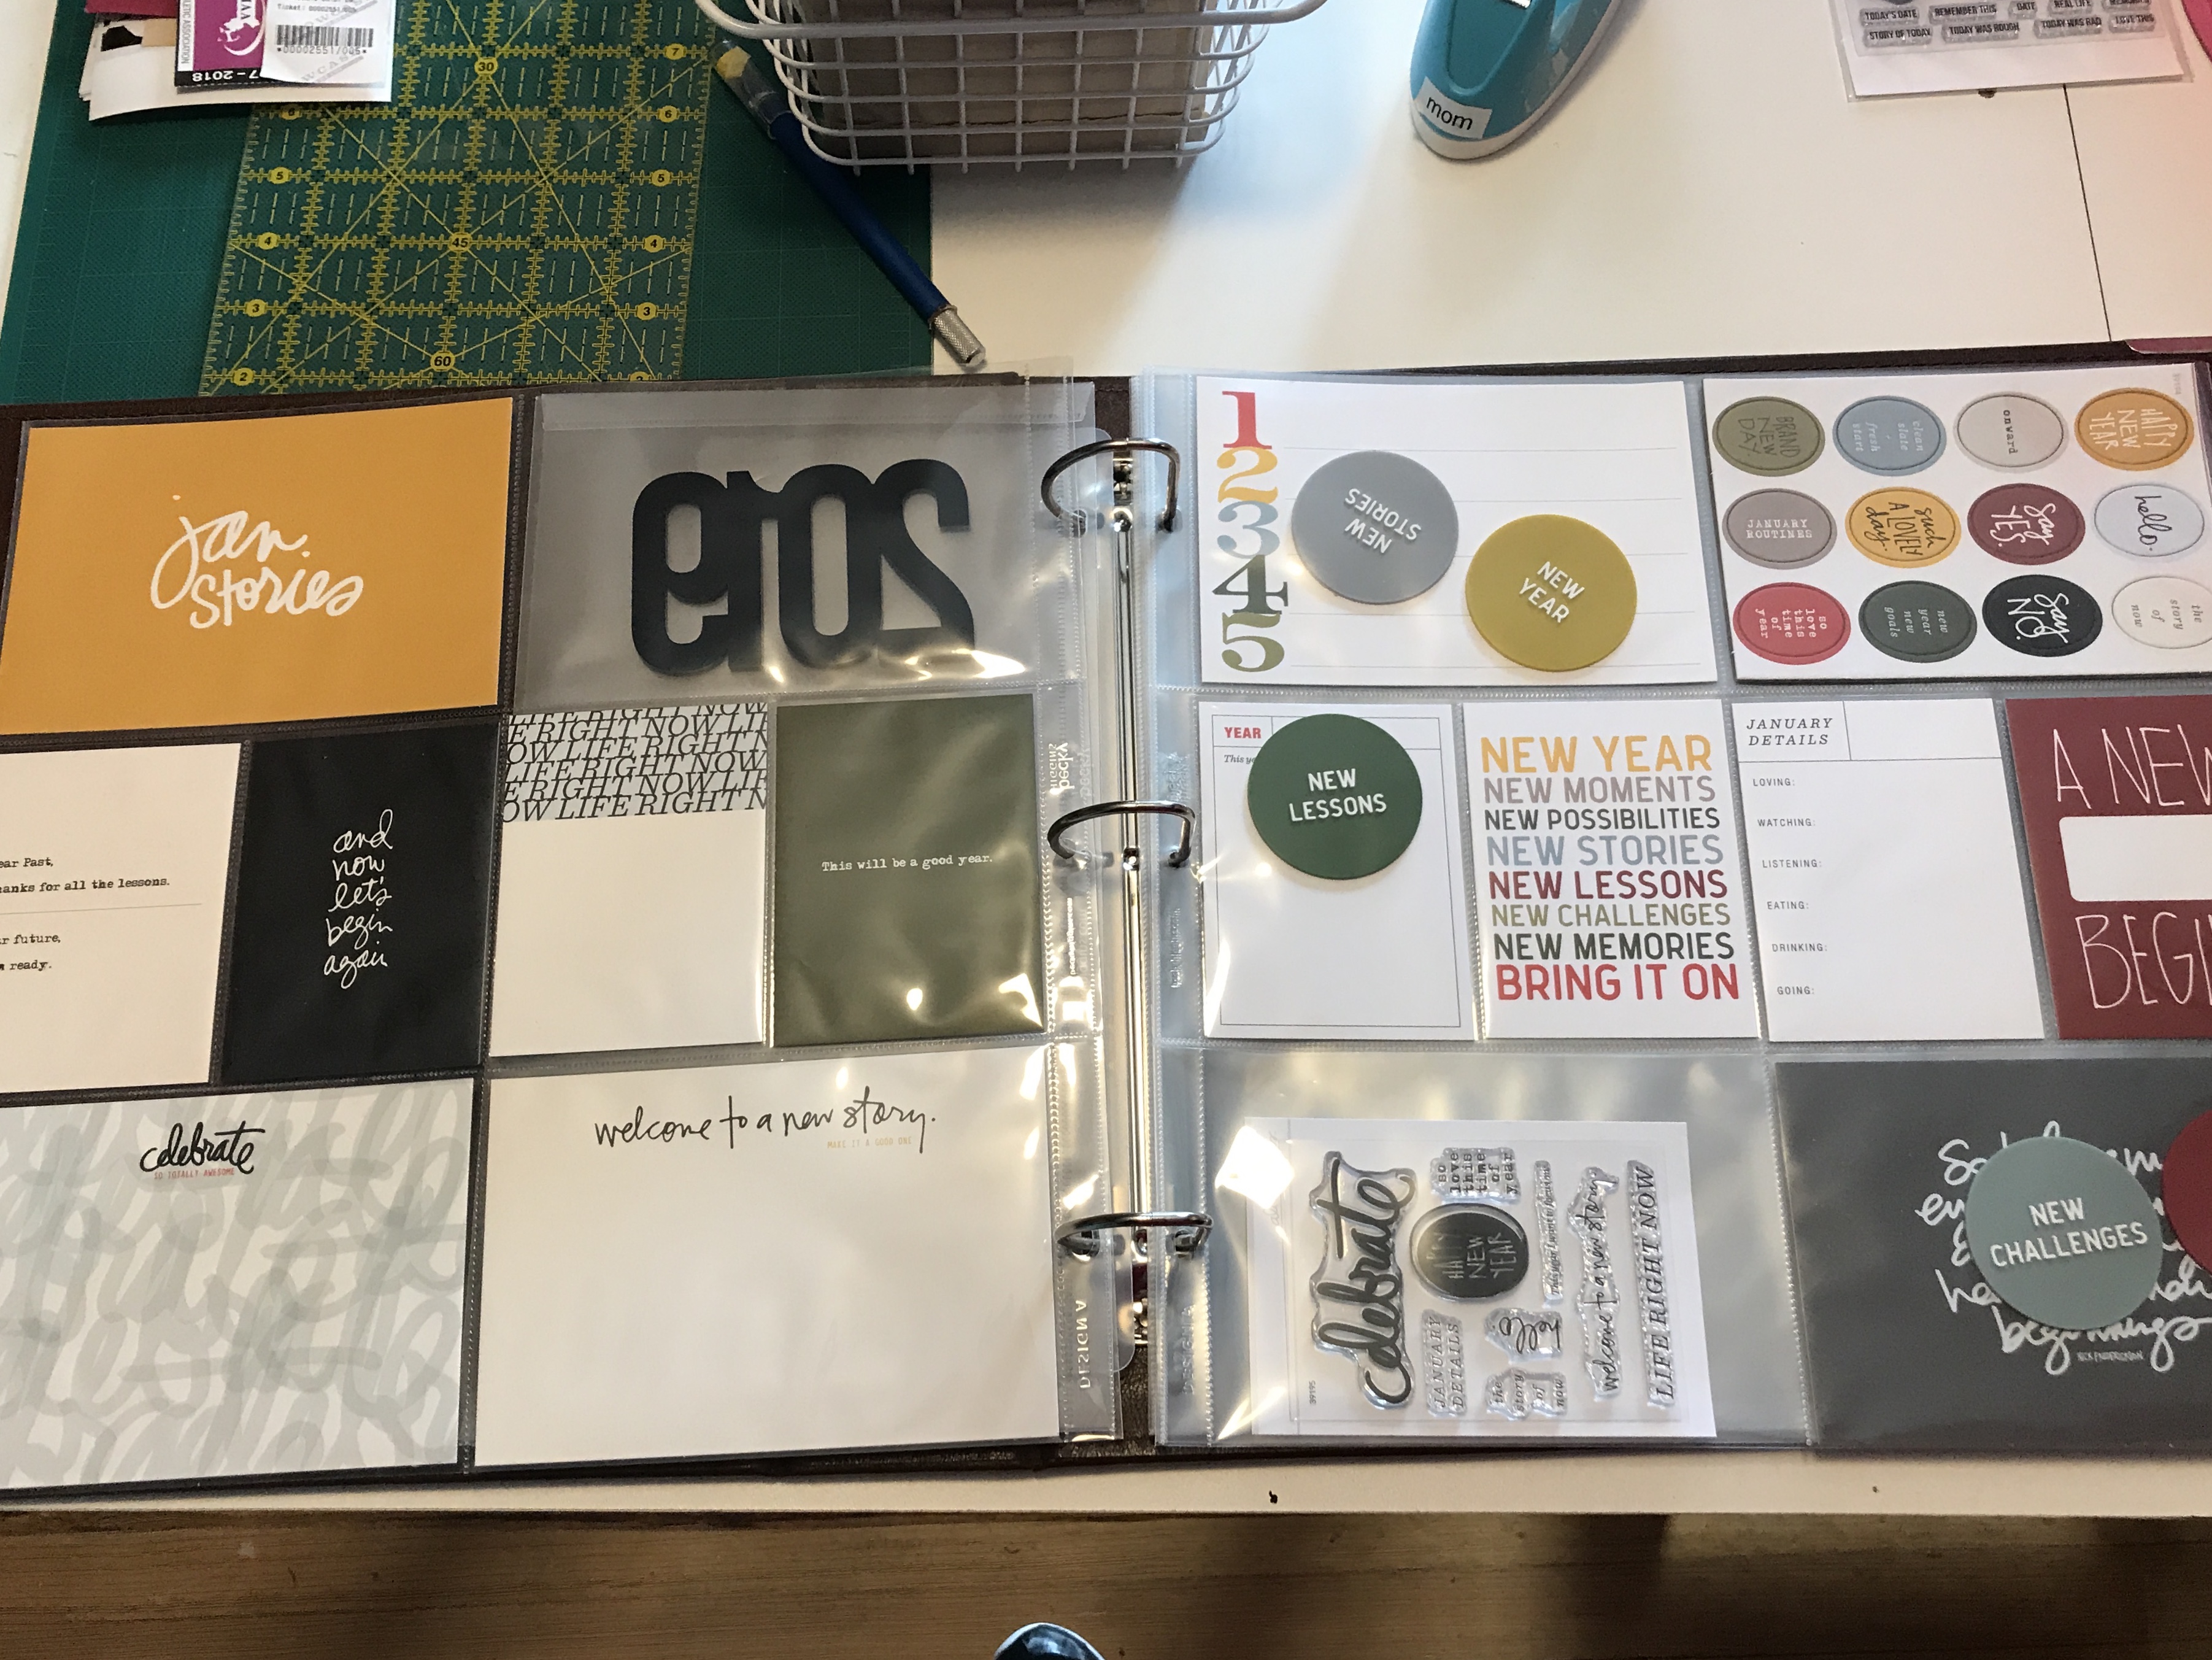
I then took all my story by the month sets, which I’m using to document 2018 monthly, found a binder and some page protectors and slotted all the cards, chipboard and stamps into the page protectors so NOW when I’m ready to work on January, I can just add more page protectors and the cards and stamps are all in one place.
Monthly themed cards and embellishments ready to use to document 2018!
All of this was accomplished while still in my pajamas yesterday afternoon! I’m so excited how everything turned out!! I’ll try and post more photos in the comments, I wanted to share here because I know many of us probably have piles of these kits and hopefully some idea will help you to work with your kits!!
Happy Dance over here!!
How do you organize your materials to make your projects flow more efficiently and leave you more time for actually making things??!